

Hi-Vis Print Placement & Compliance: Logo Size, Tape Rules, Visibility Zones
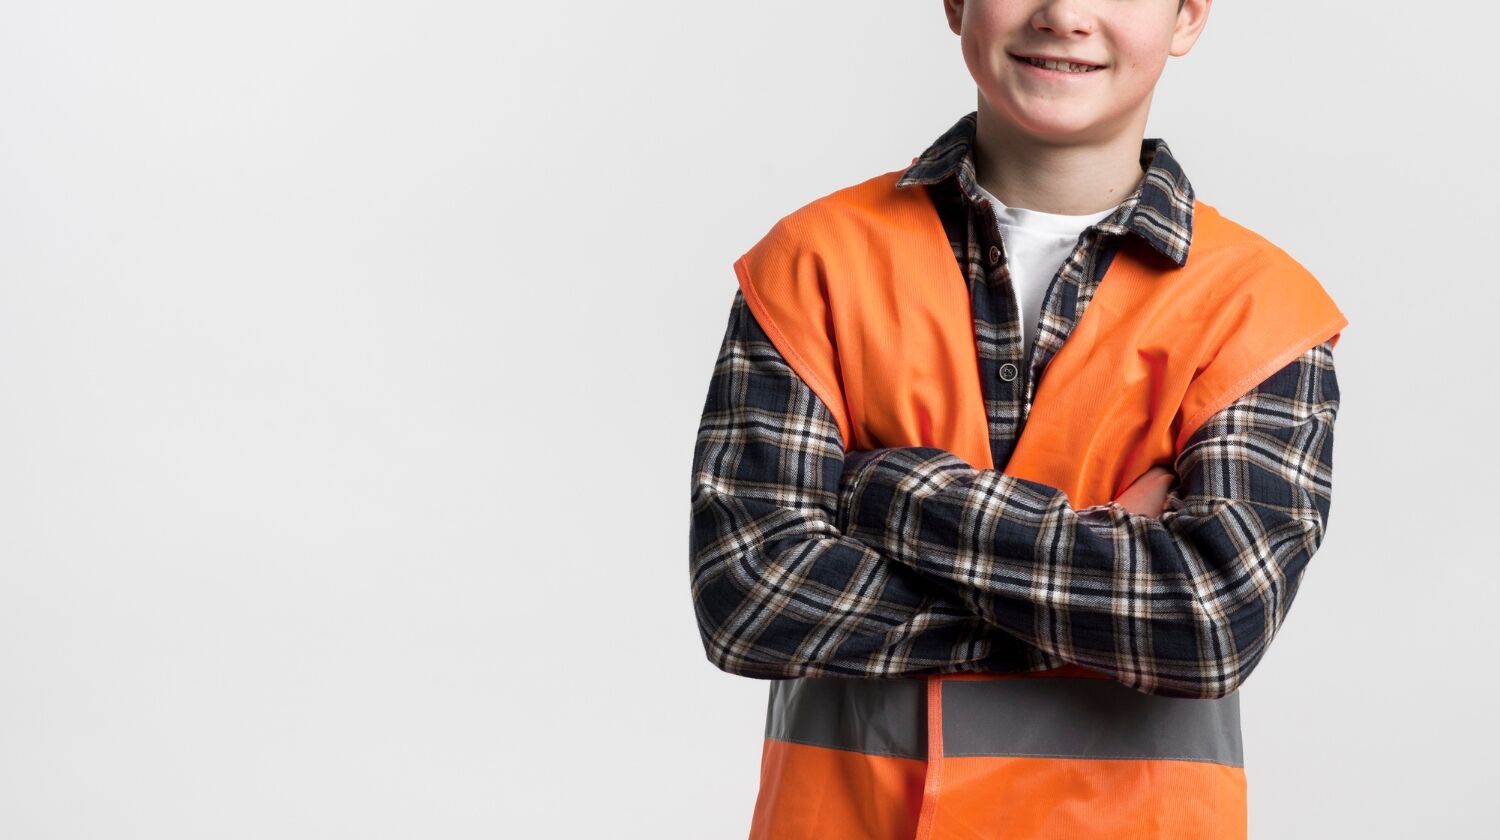
Get Your Hi-Vis Seen, Read and Site-Compliant
Hi-vis gear is not just about bright colours and reflective tape. If your logo is too small, printed in the wrong spot, or sitting over the tape, you lose impact and might also run into compliance issues on site. That can mean confusion about who does what, and in some cases, safety risks when people cannot be identified quickly.
Good placement makes a big difference. You want your crew seen at a distance, your company name readable in a split second, and the garment still comfortable to work in all day. This guide walks through practical rules for custom hi-vis printing, where to place logos, what to avoid, and how to think about reflective tape, so your kit works hard on real Australian job sites.
To get the most from this guide, we recommend pairing it with simple visuals:
• Front and back garment layout diagrams showing "no-go" tape zones and safe print areas
• Example photos of finished hi-vis jobs from local clients
• Before-and-after examples of poor vs best-practice logo placement
Hi-Vis Rules and Tape Basics in Plain Language
Before planning prints, it helps to understand the basic ideas behind common Australian standards like AS/NZS 4602.1:2011 for high-visibility safety garments. You do not have to memorise the code, but you should know what type of garment you are dealing with.
General categories include:
• Day only: fluorescent or high-visibility colours with no reflective tape
• Night only: darker base like navy with reflective tape as the main feature
• Day/night: hi-vis fabric plus reflective tape for 24-hour use
Most compliant garments must keep a certain area of hi-vis fabric clear on the torso and shoulders. Reflective tape has to sit in specific patterns, often:
• Hoop style: a continuous band around the torso and sometimes arms
• X-pattern on the back: tape crossed over the shoulders
• Shoulder stripes: tape that runs from front to back
Your prints and logos must not cover or break:
• Reflective tape bands
• The main hi-vis areas the standard relies on
• Any existing emergency, company, or site-specific markings
A simple way to picture it:
• Take a front and back outline of a hi-vis shirt (we often provide these as layout PDFs).
• Shade the tape in as red "no-go" zones.
• Mark the gaps between tape and collar, plus the clear space across the upper back, as your usual "safe" logo areas.
Some councils and Tier 1 contractors add stricter rules, especially for winter and night works, so always check site documents before you finalise artwork.
Visibility Zones and Logo Sizes That Actually Work
Not every part of a shirt works the same way. Some spots are great for quick reads, others are easy to miss or get covered by jackets, tool belts, or harnesses.
Common visibility zones:
• Primary zones: upper left chest, upper back, and centre back
• Secondary zones: sleeves and lower front, if tape and site rules allow
• Avoid zones: across reflective tape, too low on the stomach, or jammed up under the collar
On site, people rarely stand straight and still. They bend, carry materials, wear vests over shirts, or throw on wet weather jackets. A big back print can disappear under a vest, and a small chest logo can vanish behind crossed arms.
A smart approach is to plan matching zones across layers, for example:
• Hi-vis tees and polos: chest logo plus large upper back print
• Winter jackets and vests: same chest position and an upper back or yoke logo that stays clear of tape
For custom hi-vis printing, some sizing rules of thumb help keep things readable at 5, 10 and 20 metres:
• Left chest logo: around 80 to 100 mm wide so it is clear but not bulky
• Back logo: around 230 to 300 mm wide, scaled to garment size
• Sleeve text: around 40 to 50 mm high, good for short role titles or a web address
Choose artwork that holds up at a distance:
• Bold, simple fonts (avoid thin scripts or super fine detail)
• High contrast colours, like navy or black on yellow or orange
• Short web or phone lines with space between elements
Real Example, Local Civil Contractor
A civil contractor in Melbourne’s west asked us to update their hi-vis polos so traffic controllers could be identified quickly. We:
• Used a bold, high-contrast company name across the upper back (260 mm wide)
• Positioned "TRAFFIC CONTROL" in block capitals below the logo, clear of the tape
• Matched logo positions on their winter jackets so identification stayed consistent across seasons
The result: crews were easier to identify on shared rail and road sites, and the garments remained compliant with the builder’s tape layout rules.
Reflective Tape Rules and Print Placement Around It
Reflective tape is not decoration; it is part of the safety system. If print covers it, the garment might no longer meet the standard it was designed for.
Key tape rules to respect:
• Never print over reflective tape on compliant garments
• Keep the full tape width visible, do not nibble into it with ink
• Do not break continuous hoops with numbers, logos, or names
Instead, work around tape lines with smart placement:
• Front prints: sit the logo above the chest tape band, or in the space between the shoulders and the top tape
• Back prints: centre the main logo between torso tape hoops, or use the yoke area if the tape runs mid-back
• Sleeves: place prints between tape bands on long sleeves, if allowed
Visual tip: on our layout templates, we often:
• Mark tape as solid red blocks
• Mark safe print zones as green rectangles with suggested maximum sizes
For a night works road crew shirt with an X-back tape pattern, the clear triangle at the top centre back is usually the main logo zone. On a hi-vis vest that has tape from shoulder to waist, the front chest logo often needs to move higher and slightly inward to miss the tape edges.
Layouts for Different Trades, Plus a Simple Planning Process
Different trades and roles need different information to stand out, but the same basic rules still apply: keep it readable, keep it off the tape, and plan for layers.
Some layout ideas that work well:
• Construction and carpentry: small front logo, large company name across the upper back, optional licence or trade number on the sleeve
• Electrical and data: chest logo plus clear back text like "ELECTRICIAN" so people can spot the role fast on multi-contractor sites
• Civil, traffic, and rail: strong back text and side visibility, using sleeves or vest sides for extra branding where allowed
Role-based marking is often needed too. Things like:
• SUPERVISOR, SPOTTER, FIRST AIDER, FIRE WARDEN, SITE MANAGER
• Short, bold words in block capitals across the upper back or below the main logo
• Font sizes big enough to read at distance, but still leaving a clean gap from any tape
Because crews work through hot summers and cold, wet winters, it helps to line up print placements across:
• Tees and polos
• Long sleeve shirts
• Hoodies and winter jackets
• Beanies and caps where allowed on site
Local Case Study: Community Sports Club On-Site
A local Melbourne sports club working on a volunteer building project wanted hi-vis vests that showed both their club identity and site roles. We:
• Placed the club logo on the left chest, above the front tape band
• Printed "VOLUNTEER" in large text across the upper back
• Kept all prints clear of the hoop tape so the vests stayed compliant for the builder
This simple layout made it easy for contractors to spot club volunteers and for volunteers to feel part of the project community.
A Simple Planning Process for a Clear, Compliant Hi-Vis Range
Use this as a ready-to-go planning checklist with your team or when briefing Thread Traders.
Gather Requirements
• Site standards and project safety documents
• Council or builder rules (especially for night or rail works)
• Work times: day, night, or both
• Roles that need clear marking (e.g. supervisor, first aider)
Choose Base Garments
• Shirts, polos, vests, jackets, hoodies, pants (if required)
• Hi-vis colour (yellow, orange, or site-specific)
• Tape pattern (hoop, X-back, shoulder stripes)
• Fabric needs (cooling, durability, rainwear)
Mark Up Layouts
Using front and back garment diagrams (we can supply templates):
• Shade tape areas as "no-go" zones
• Mark safe print zones on front, back, and sleeves
• Note maximum logo sizes in each zone
Finalise Artwork
• Confirm logo versions (full colour, one colour, or reflective transfers if required)
• Lock in font choices and role wording
• Check colour contrast against hi-vis fabrics
Review, Sample, Then Approve
• Review digital mockups showing exact placements
• Produce a sample run for key sizes
• Confirm comfort, readability at distance, and tape visibility
At Thread Traders in Melbourne, our production team uses this process daily with local builders, councils, and trade businesses. Our print and embroidery operators check each layout against tape positions, so logos stay clear of safety zones and still look sharp after repeated washing and site wear.
Sustainability and Innovation, Done Practically
Where projects allow, we can help you build more sustainable choices into your hi-vis range, for example:
• Using longer-lasting inks and transfers that reduce the need for frequent replacement
• Selecting durable base garments to cut waste from early garment failure
• Trialling decoration methods that balance sustainability with the abrasion and washing demands of real job sites
We approach these as practical improvements, not add-ons, so you still get a tough, reliable hi-vis kit first and foremost.
Key Takeaways for a Clear, Compliant Hi-Vis Kit
Keep this quick checklist on hand for each new hi-vis run:
• Confirm which standards and site rules apply
• Lock in garments and tape layouts for each trade and role
• Mark safe print zones around tape and hi-vis areas
• Agree on logo sizes, fonts, and wording for roles
• Approve clear mockups before any bulk production
When hi-vis garments are set up this way, crews walk on site visible, compliant, and easy to identify, and your brand is readable from the first day on the job.
For businesses across Melbourne and regional areas, Thread Traders focuses on getting that balance right. Our local production team takes pride in:
• Accurate logo placement around tape
• Consistent print quality across sizes and garments
• Durable decoration that stands up to real site conditions
That way, your custom hi-vis printing looks sharp, feels good to wear, and keeps doing its job across every season.
Get Started With Your Project Today
If you are ready to kit out your team with professional, compliant visibility gear, our custom hi-vis printing service makes it straightforward to get exactly what you need. At Thread Traders, we work with you to match colours, placement and quantities so your branding looks sharp on every garment. Share your logo, timelines and any safety requirements and we will guide you through the options and provide clear pricing. If you would like tailored advice before placing an order, simply contact us and we will help you plan your next uniform update.
Blog Posts
- Planning Custom Workwear for Seasonal Trades in Melbourne
- Hi-Vis for Small Crews: Repeatable Reorders (SKUs, Sizing, Turnover)
- Visual SOP for Ordering Custom Branded Workwear Online
- Visual Uniform Mockups That Save You From Costly Reprints
- Planning Branded Merchandise for Melbourne School Events
- Hi-Vis Print Placement & Compliance: Logo Size, Tape Rules, Visibility Zones
- Planning Branded Workwear for Small Melbourne Teams
- What Makes a Reliable Company Swag Supplier in Australia
- Planning Bulk Custom Merchandise Orders Without the Stress
- Ordering Custom Polo Shirts with Logos for Aussie Teams
- Checklist for Event Merchandise Printing That Actually Sells
- Workshop Guide to Branded Uniforms for Melbourne Trades
- Visual Checklist for Custom Branded Caps and Hats
- DTF Printing Australia: a Simple Visual Guide for First-Time Orders
- What to Expect From Custom Embroidery in Melbourne
- Designing Branded Tote Bags Australia Clubs Actually Use
- Ordering No-Minimum Custom Printing for Last-Minute Events
- How to Write a Print-Ready Custom T-Shirt Order: Sizes, Specs, Timelines
- Decoding Custom Hoodie Printing for Melbourne Teams
- Visual Brand Guide for Custom T‑shirt Printing in Melbourne
- Custom Promotional Products Melbourne Businesses Actually Use
- Planning Branded Hi-Vis Workwear for Trades Without the Hassle
- Signs Your Branded Uniforms Are Letting Your Team Down
- Choosing Between Screen Printing and DTF for Custom Tees
- Is Eco-Friendly T-Shirt Printing Right for Your Brand
- Love the Planet, Love Your Clothes: The Rise of Eco-Conscious Embroidery in Fashion
- Why Business Owners Love DTF Printing: Sustainable Solutions for Custom Apparel
- Garment Embroidery Services in Melbourne
- Hi-Vis Printing for Small Crews: Budget & MOQ Playbook for Small Runs
