

Visual Uniform Mockups That Save You From Costly Reprints
See Your Uniform Before You Spend a Dollar
One wrong logo size, colour or placement can throw off an entire uniform order. A logo that sits too low, text that is too small, or colours that do not match your brand can leave you with boxes of gear that nobody wants to wear. Fixing it usually means reprints, delays and frustration.
Visual uniform mockups stop that from happening. They let you see exactly how your branded uniforms in Australia will look before a single garment goes into production. You can test logo size, placement, colour and decoration method on screen or on paper, so you can approve with confidence.
Around August, many hospitality venues, event teams, sporting clubs and retailers start planning uniforms for warmer months and Christmas trade. New staff, new seasons and new sponsors all add pressure to get uniforms right on the first run. That is where mockups really earn their keep.
This guide explains:
- How digital and physical mockups work
- A simple approval process you can repeat for any order
- Practical examples from Melbourne businesses, clubs and events
- Where visuals (mockups, photos and samples) fit into the process
Why Mockups Matter More Than a Quote and a Logo
A visual uniform mockup is more than a logo dropped on a shirt. It is a clear layout showing front, back and sometimes side or sleeve views, with exact logo placement and size. It also calls out the decoration method, like DTF print, embroidery or sublimation, and shows how colour combinations work across all garments in the range.
We recommend pairing this text with:
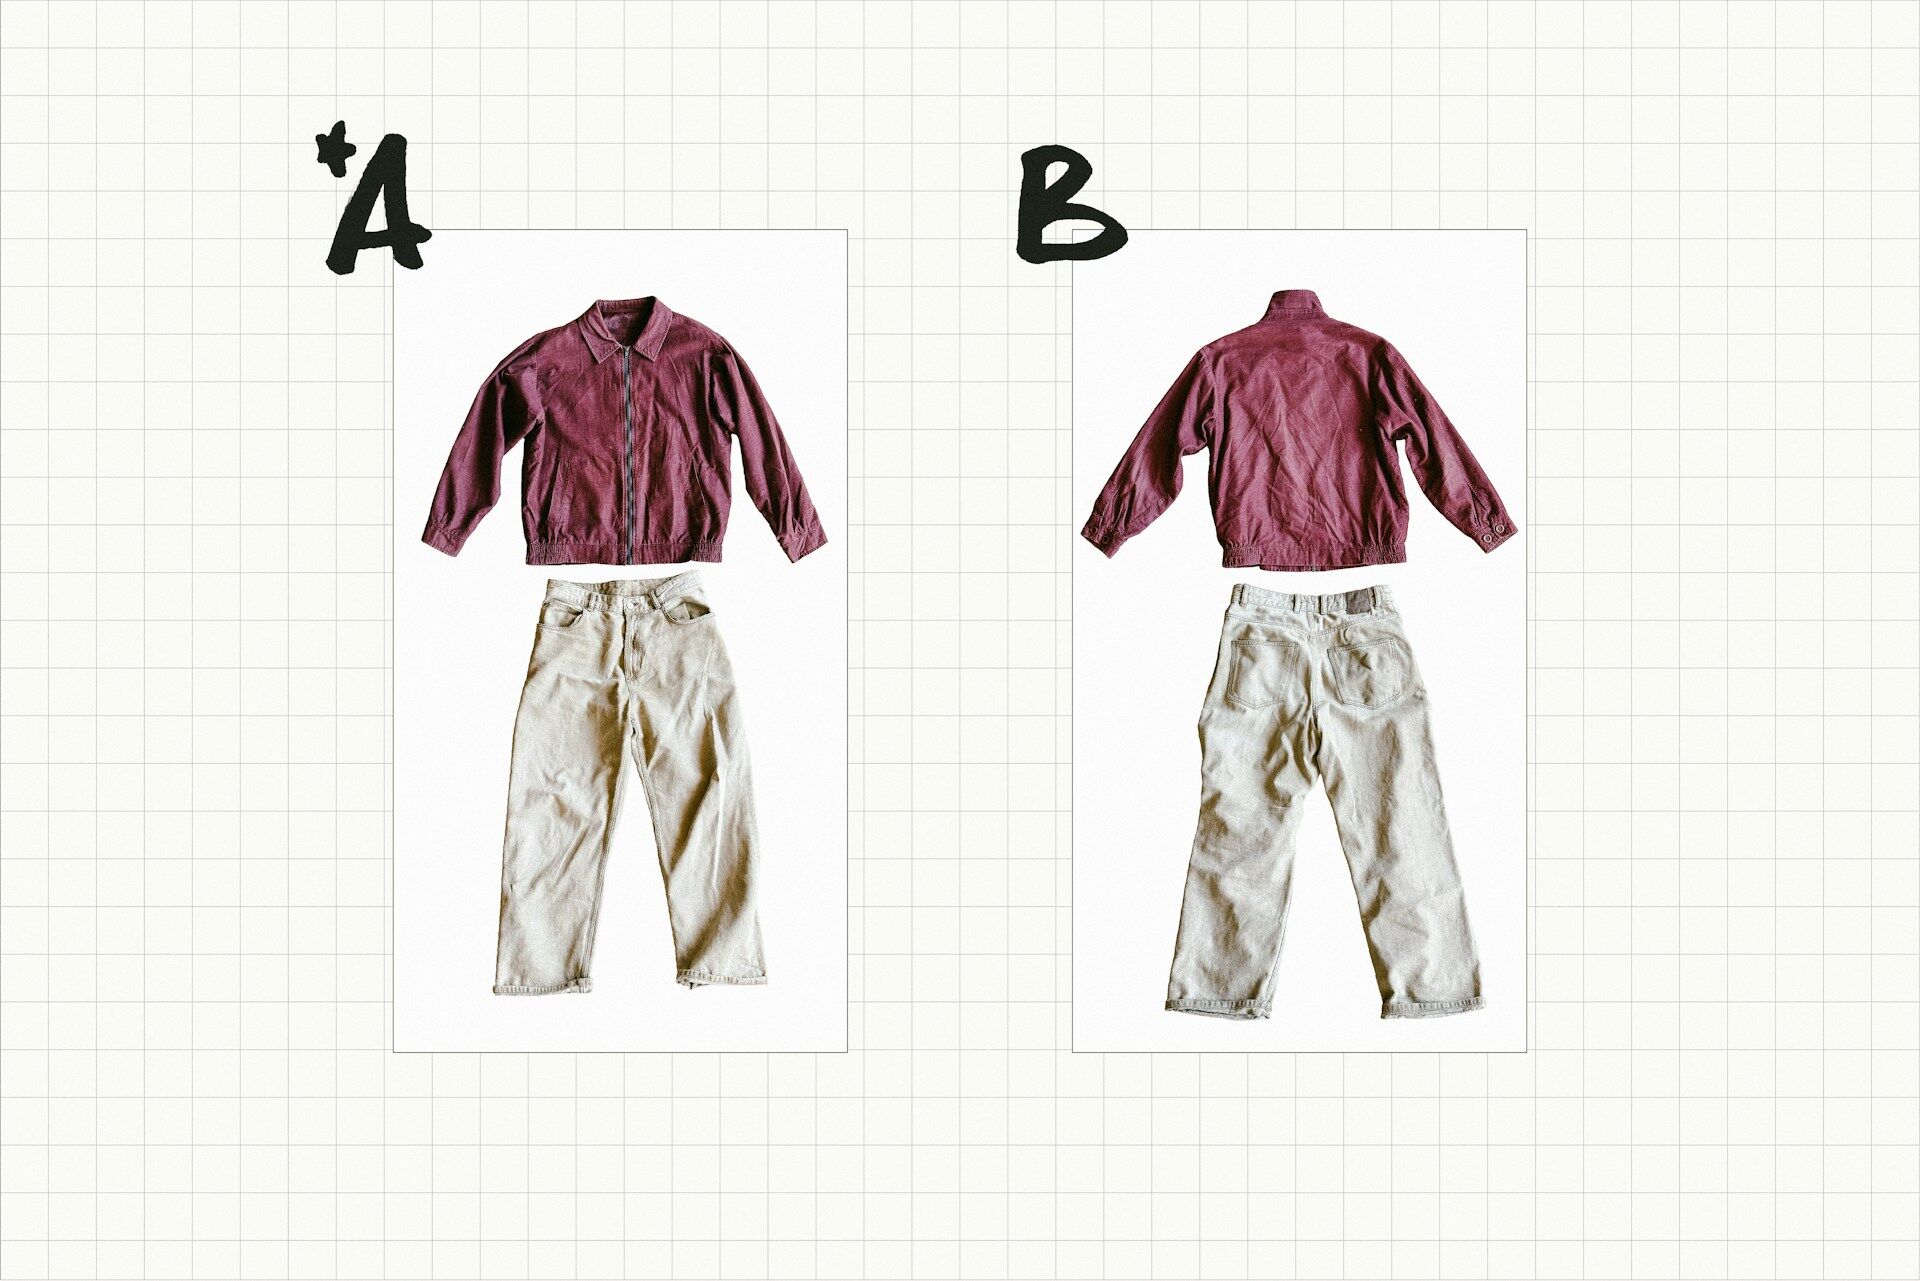
- Flat garment mockup images (front and back) for each style
- Close-up examples of logo placement near collars, pockets and seams
A basic artwork proof might just show your logo on a white square. A proper uniform mockup shows how that logo actually sits on the body, around seams, collars, pockets and panels. At Thread Traders we work with garment templates so what you see on the mockup lines up with how the real garment is built.
When people skip proper mockups, problems usually show up only after delivery. Common triggers for reprints include:
- Logos too small or sitting under aprons or hi-vis vests
- Off-brand colours that do not match existing signage or menus
- Fine text that is unreadable at working distance
- Sponsor logos clashing with each other or sitting across seams
These are best illustrated with before-and-after visuals:
- Before: photo of a logo hidden under an apron
- After: photo of corrected placement on a mockup and finished garment
Once uniforms are wrong, you can end up redoing staff photos, reissuing starter packs, and even changing printed promo material to match the mistake. For a local café or bar, something as simple as a logo sitting too low can mean reprinting dozens of polos because it disappears behind aprons.
With branded uniforms in Australia, there is extra pressure because uniforms must work in bright sun and harsh outdoor conditions, indoors under different lighting, across many body types and size ranges, and with regular staff turnover and repeat orders. Clubs and franchises often have strict guidelines too. A good mockup is a simple way to keep everyone on the same page, from the committee to the marketing team to each location manager.
How a Good Mockup Stops Costly Reprints
A strong mockup has a few must-have elements. Ask for these every time:
- Clear garment views: front, back and sleeves if needed
- Measured logo placement, for example in centimetres from the collar or side seam
- Decoration methods labelled for each logo or graphic
- Notes for names, numbers and roles if they change by person
We recommend showing a sample mockup with:
- Dimension lines and measurements marked
- Labels for each decoration method (e.g. left chest embroidery, back DTF print)
Once you have the mockup, do a few quick visual checks before you approve anything.
Readability matters because uniforms are usually read at a distance, not from up close. Can you read names, roles and sponsor logos from 2 to 3 metres away, and is any text too thin or small, especially on embroidery?
Colour also needs a real-world check. Does the logo colour sit clearly on the garment colour, and will it still read well in shade, sunlight and indoors?
Scale is the final basic check and it is where many reprints start. Does the logo feel balanced on both small and 5XL garments, and does the artwork sit clear of seams, pockets, zips and reflective strips?
Practical Local Examples:
A Melbourne football club used mockups to map every sponsor logo on jerseys and training tops so nothing overlapped seams or got lost in folds. Side-by-side mockups showed home and away kits for fast approval. A Brunswick construction company planned hi-vis polos with a large back print and left-chest embroidery so safety wording stayed visible under vests, and mockups showed how the print sat relative to vest coverage. A community festival in the western suburbs used colour-coded volunteer tee mockups (set-up, first aid, information) so different roles were easy to spot without ordering extra shirts at the last minute.
Step-by-Step: Approving Uniform Mockups Like a Pro
You do not need design training to approve uniforms well. Use this repeatable process.
Build a Basic Uniform Brand File
Pull together a small kit before you brief the job:
- Logo files in vector format, like AI, EPS or PDF
- Brand colours listed in CMYK, RGB and Pantone if you have them
- Font files or at least font names
- A short list of non-negotiables, such as minimum logo size, sponsor order, or no logos on certain areas
You can set this up as a one-page Uniform Brief for your business or club. Include space for your primary logo and approved variations, brand colours, placement rules (e.g. left chest only, no back print), and sponsor hierarchy so the supplier can follow your standards every time.
Review the Mockup on Screen and on Paper
On screen:
- Zoom in to check stitching, edges and tiny text
- Zoom out so the full garment fits on your laptop at about half size, similar to how you see it across a room
On paper:
- Print the mockup on A4
- Hold it at arm’s length to get a feel for real-world scale
- If you have both men’s and women’s cuts, check that placements work across both
Here it helps to show a photo of someone holding the printed mockup, alongside the real finished uniform, to connect visual checks to final results.
Get Fast, Focused Feedback
Keep the review group small, usually:
- Owner or manager
- Marketing or brand person
- Team lead, coach or supervisor
Ask clear questions like:
- Is the logo big enough?
- Can we read this from across the room or field?
- Is anything missing or in the wrong order?
Choose one person as final decision-maker so you do not end up stuck in back-and-forth changes.
Confirm the Production Details in Writing
Before production starts, confirm:
- Garment style and colour for each role or team
- Decoration method for each logo
- Logo positions and sizes exactly as shown
- Names, numbers or departments that need to be added
Make sure the final approved mockups are dated and stored. At Thread Traders we keep these on file so future reorders match the original run, even as staff come and go.
Quick Approval Checklist (Reusable)
Before you sign off:
- [ ] Mockups for every garment style and colour
- [ ] Front and back views (and sleeves if needed)
- [ ] Measurements shown for key logos
- [ ] Decoration methods labelled
- [ ] Colours checked against brand references
- [ ] Readability checked at 2, 3 metres
- [ ] Final decision-maker has approved and dated the mockups
Choosing the Right Mockup Style for Your Project
Not every project needs a physical sample, but every project does need the right kind of visual. The right choice depends on the garment complexity, how many stakeholders need to approve, and what risks you are trying to eliminate before production.
Flat Digital Mockups Work Best When:
- You are ordering simple polos, tees, hoodies, caps or hi-vis workwear
- You want to compare decoration options like DTF print versus embroidery
- Your team is spread across different sites and needs to approve by email
Suggested visuals:
- Side-by-side images showing the same garment with different decoration methods
- A simple layout of an entire range (tee, polo, hoodie, cap) on one page
On-Body or Photo Mockups Are Better When:
- Garments have panels, raglan sleeves or side prints that affect placement
- You are ordering sports kits or performancewear with wraparound patterns
- Playing numbers and sponsor logos both need to sit clearly on the same area
Here, real photos of players, staff or volunteers wearing sample kits give quick clarity.
Physical Samples Are Worth the Wait When:
- You are placing a large order
- You are testing a new fabric or colour
- You are decorating thick jackets, caps or workwear with heavy seams
- You want to see and feel a sustainable or recycled fabric before committing
For example:
- A local council trialled recycled polyester polos with a physical sample before rolling them out to all staff. The sample helped confirm comfort, durability and how the embroidery sat on the fabric.
Including a photo of the physical sample next to the approved mockup shows how closely the final result matches the plan.
Sustainability and Innovation in Your Mockup Process
You can also use mockups to make more sustainable and efficient choices. Testing fewer colour variations on screen before sampling helps reduce waste, and comparing standard fabrics with recycled or organic options using side-by-side mockups and one physical sample can help you choose confidently with less trial-and-error. Mockups also help you plan long-term designs that will still work for future sponsors or staff changes, reducing the need to discard old stock.
At Thread Traders we use updated decoration methods like DTF print and efficient embroidery set-ups to balance quality, durability and waste reduction.
Turn Your Next Uniform Order into a No-Surprise Project
Visual mockups protect you from misaligned logos, poor colour choices, hard-to-read text and messy sponsor layouts. They reduce rushed reprints, last-minute changes and staff who do not feel proud wearing the kit.
Before your next order for branded uniforms in Australia, run through this quick checklist:
- Do you have clear front-and-back mockups for every garment?
- Is each logo labelled with size, position and decoration method?
- Have 2 to 3 key people given focused feedback and final sign-off?
- Are the final mockups saved for future reorders and seasonal changes?
- Have you considered sustainable fabric or decoration options where suitable?
At Thread Traders in Melbourne, we work with a visual-first process for local businesses, trades, sports clubs and community events. We combine:
- Detailed mockups
- Practical layout suggestions
- The right choice of printing or embroidery for each garment
so you can see your uniforms clearly upfront. When the boxes arrive, the gear matches the mockups and your team is confident and comfortable wearing it.
Get Started With Your Project Today
If you are ready to refresh your team’s look with quality, comfortable workwear, we are here to help you plan the perfect solution. Explore our range of branded uniforms in Australia and see how Thread Traders can align your uniforms with your brand. Tell us about your team size, industry and budget and we will recommend options that fit. If you would like tailored advice or a quick quote, simply contact us and we will respond promptly.
Blog Posts
- Planning Custom Workwear for Seasonal Trades in Melbourne
- Hi-Vis for Small Crews: Repeatable Reorders (SKUs, Sizing, Turnover)
- Visual SOP for Ordering Custom Branded Workwear Online
- Visual Uniform Mockups That Save You From Costly Reprints
- Planning Branded Merchandise for Melbourne School Events
- Hi-Vis Print Placement & Compliance: Logo Size, Tape Rules, Visibility Zones
- Planning Branded Workwear for Small Melbourne Teams
- What Makes a Reliable Company Swag Supplier in Australia
- Planning Bulk Custom Merchandise Orders Without the Stress
- Ordering Custom Polo Shirts with Logos for Aussie Teams
- Checklist for Event Merchandise Printing That Actually Sells
- Workshop Guide to Branded Uniforms for Melbourne Trades
- Visual Checklist for Custom Branded Caps and Hats
- DTF Printing Australia: a Simple Visual Guide for First-Time Orders
- What to Expect From Custom Embroidery in Melbourne
- Designing Branded Tote Bags Australia Clubs Actually Use
- Ordering No-Minimum Custom Printing for Last-Minute Events
- How to Write a Print-Ready Custom T-Shirt Order: Sizes, Specs, Timelines
- Decoding Custom Hoodie Printing for Melbourne Teams
- Visual Brand Guide for Custom T‑shirt Printing in Melbourne
- Custom Promotional Products Melbourne Businesses Actually Use
- Planning Branded Hi-Vis Workwear for Trades Without the Hassle
- Signs Your Branded Uniforms Are Letting Your Team Down
- Choosing Between Screen Printing and DTF for Custom Tees
- Is Eco-Friendly T-Shirt Printing Right for Your Brand
- Love the Planet, Love Your Clothes: The Rise of Eco-Conscious Embroidery in Fashion
- Why Business Owners Love DTF Printing: Sustainable Solutions for Custom Apparel
- Garment Embroidery Services in Melbourne
- Hi-Vis Printing for Small Crews: Budget & MOQ Playbook for Small Runs
- Choosing Branded Uniforms for Melbourne’s Mixed-Weather Workdays
- Uniform Waste Audit: Track Returns, Alterations, and Write
