

Hi-Vis Printing for Small Crews: Budget & MOQ Playbook for Small Runs
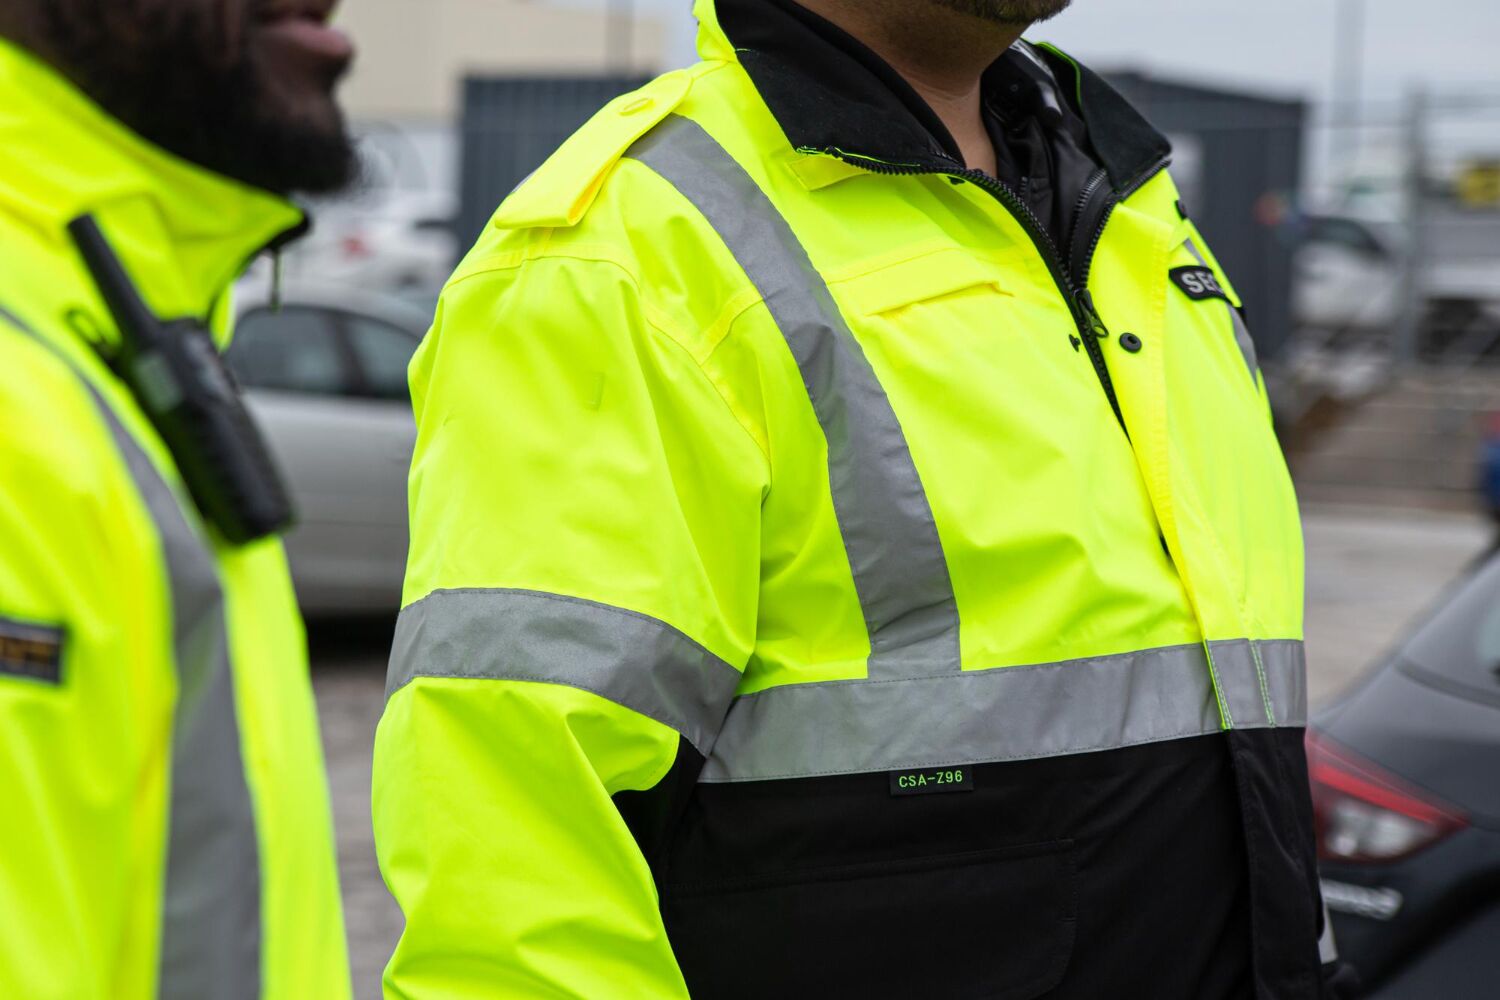
Stretching a Small Hi-Vis Budget Further
Small crews still need serious hi-vis. Safety rules, site requirements, and client expectations do not change just because you only have five people on the job. The challenge is that custom hi-vis printing often feels built for big orders, not for trade teams, event crews or mixed roles that change with the season.
This guide is a practical playbook for planning custom hi-vis printing when you have a real budget and a small team. We walk through how to plan runs so you avoid paying a small-run premium, how colour, logo layout and placement influence cost, and when to pick DTF, screen printing or embroidery. As we head from winter into warmer months in Melbourne, it is also a good time to get gear sorted before outdoor work ramps up.
At Thread Traders, we work with many local crews where one person is on the tools, one is on the road, one is in the office and another is on night shift. The aim is to build a simple, repeatable system that keeps everyone visible and on-brand without blowing the budget or ending up with boxes of unused sizes.
To support visuals, we recommend pairing this guide with:
• A simple crew breakdown table (roles vs hi-vis needs)
• A sample order sheet layout
• Mockups showing different logo placements and print methods on the same garment
Planning Small Hi-Vis Runs Without Blowing the Budget
For small teams, planning affects spend more than any print method. The clearer you are about what your crew actually needs, the easier it is for any decorator to keep things consistent and affordable.
1. Map real needs, not guesses
Create a quick crew overview:
• List roles: site supervisors, apprentices, labourers, night shift, warehouse, drivers, office
• Note work conditions: day only, night, roadside, indoor, mixed
• Decide who genuinely needs hi-vis and who can stay in standard branded polos or tees
2. Build a simple garment and size list
Before asking for quotes, prepare a basic sheet. This can be a simple table or spreadsheet:
• Garment type: hi-vis polo, tee, vest, hoodie, jacket, cap
• Colour: yellow/navy, orange/navy, or site-specific choice
• Quantity by size: S, M, L, XL, 2XL and above
This reduces over-ordering of random sizes that sit on a shelf and are rarely used.
3. Time your main runs and top-ups
Instead of three or four very small orders through the year, aim for:
• One main run before spring or before a major contract starts
• A smaller top-up before your next busy patch or big project
• Layered planning: light hi-vis for hot days, plus a focused order of hoodies or jackets for early starts and night work
4. Separate your gear into a core kit and add-ons
• Core kit: One main style of hi-vis polo or tee for almost everyone; same colourway and logo placements across the board.
• Add-ons: Role-specific items such as visitor vests, branded caps and supervisor jackets. These can often be printed as needed in smaller batches, particularly with DTF.
A simple order sheet, a crew breakdown table and a quick size checklist that you can screenshot and share with your team make future orders much easier and keep things consistent year after year.
Example Visual:
Show a sample spreadsheet with columns for Role, Garment Type, Colour, Size Run, Quantity.
Smart Colour, Logo and Placement Choices That Cut Costs
Print method pricing is only part of the story. The way your logo is built and where it goes on the garment can speed jobs up or slow them down.
1. Prepare a hi-vis friendly version of your artwork
• Keep colours simple: one or two solid colours usually stand out better on fluoro fabric than gradients
• Remove tiny taglines or web addresses that no one can read from a distance
• Use strong contrast so your logo is clear against yellow or orange
• Keep clear of safety tape and reflective strips so you do not affect compliance or create wear points
2. Standardise placements
A common, cost-smart layout is:
• Left chest logo for quick identification up close
• Large back logo for visibility from a distance
Try to avoid too many variations (e.g. some staff with sleeve prints, some with front-only prints and some with full fronts and backs) unless they are required for role separation. Fewer layouts mean faster setup, fewer errors and smoother reorders.
3. Make smart colour and garment choices
• Choose one main hi-vis colour that suits most sites, with a second colour only if you must split by role or project
• Stay with one or two proven garment styles so you understand the fit, size range and comfort
• Keep logo colours consistent so you are not reworking artwork for different garments
At Thread Traders, we often run side-by-side mockups for Melbourne clients, such as full front print vs left chest plus back, so they can see the visual impact and understand how that choice affects printing time and method.
Example Visual:
Show two hi-vis polos side-by-side with different logo placements and a short note on cost/production impact.
Choosing Between DTF, Screen Printing and Embroidery
Each decoration method has a “sweet spot” for small hi-vis runs. Picking the right one for each job helps keep your gear looking sharp and practical.
DTF printing (often ideal for small teams):
• Suitable for small quantities with detailed, multi-colour logos
• No screen setup, so you avoid additional setup costs for complex artwork
• Works well on hi-vis polos, tees, vests and jackets for chest and back prints
• Ideal for staggered orders; once artwork is ready, repeat prints are consistent
Screen printing (best for larger, simple runs):
• Works well for medium to larger quantities of the same design, such as a full crew of matching vests
• Very effective for one or two colour logos
• Excellent for large back prints where big, bold branding matters more than tiny detail
Embroidery (for a premium, durable finish):
• Great for chest logos, names and badges where you want a more premium look
• Not ideal for large back prints because it adds weight and stiffness
• Works nicely in a mixed setup, such as embroidered chest logo plus printed back
Quick method guide
• Under 20 pieces with a complex logo: DTF is usually the best choice
• Around 30 to 100 pieces with a simple logo in one or two colours: screen print often works best
• For polos and jackets where you want polished, long-lasting branding: embroidered chest plus printed back is a strong combination
Example Visual:
A comparison table showing DTF vs Screen Printing vs Embroidery with columns for Ideal Quantity, Logo Detail, Typical Placement, Pros.
MOQ Hacks, Batching Tricks and Reorder Strategies
Minimum order quantities (MOQs) can feel restrictive, but with some planning they can work in your favour.
1. Batch across garments, not just within one item
• Use the same logo setup on multiple pieces, for example hi-vis polos, tees and vests
• Group safety hi-vis for field staff and standard branded polos for office crew in a single production run
• For screen printing, plan designs so you can run several placements using the same ink colours
2. Keep branding “evergreen” where possible
• Avoid frequent small updates that force fresh setups, such as minor phone number changes or subtle colour tweaks
• Lock in a base logo and placement for all core kit items, then build role-specific extras around that
3. Plan reorders based on wear and tear
• For heavy outdoor and roadside roles, plan for replacement every season or so
• Place orders before your busiest months so quantities naturally stay above MOQ
• Keep a small buffer of blank hi-vis in common sizes that can be quickly decorated using DTF for new hires or unexpected project wins
4. Consider sustainability alongside budget
• Choose durable garments so you replace less often, reducing waste
• Standardise core kit items so unused stock can be reallocated across roles where possible
• Work with local decorators (such as Thread Traders in Melbourne) to reduce transport, shorten lead times and better match what your team actually uses
These planning steps not only help your budget, they also reduce waste by ensuring you order what your crew actually wears, rather than large volumes of leftover items.
Example Visual:
A simple reorder calendar highlighting ideal months for main runs and top-ups.
Turning Your Hi-Vis Plan Into a Ready-to-Order Brief
Once you have worked through these steps, you can turn them into a clear brief that any decorator can act on quickly, including our team here at Thread Traders in Melbourne.
What to include in a strong hi-vis order brief
• Crew size and roles, with notes on day, night or roadside work
• A list of garment types and rough quantities by size
• Artwork files (ideally vector), plus a simplified hi-vis version of your logo if you have one
• Any preferred method (DTF, screen print, embroidery) or a note asking for the best mix
• Deadlines and timing around project start dates or seasonal peaks
Simple email template you can use
You can copy, paste and adapt this for your next order:
"""
Subject: Hi-Vis and Branded Workwear Order
Hi [Decorator/Thread Traders],
We are looking to order hi-vis and branded workwear for our team based in [Suburb/Area, Melbourne].
Crew overview:
• Total staff: [number]
• Roles and conditions: Site supervisors (mainly day / some night work); apprentices and labourers (day and roadside work); drivers (mixed day/night); office staff (standard branded polos only)
Garments and approximate quantities:
• Hi-vis polos: [colour], [sizes and quantities]
• Hi-vis vests: [colour], [sizes and quantities]
• Hoodies/jackets: [colour], [sizes and quantities]
• Caps/beanies: [colour], [quantities]
Decoration:
• Logo attached as vector (plus a simplified hi-vis version)
• Preferred placements: left chest logo + large back logo
• We are open to your recommendation on DTF vs screen printing vs embroidery for each item.
Timing:
• We would like gear ready by [date], ahead of [project/season].
Please let us know if you need any more details or sizing information.
Kind regards,
[Name]
[Business]
[Contact details]
"""
From there, a local partner can clean up artwork, suggest placement tweaks, mock up designs on actual hi-vis garments and recommend which method is right for each piece.
Starting with one well-planned custom hi-vis printing run for your core team sets you up for easier add-ons and reorders as your projects and crew grow. With a clear plan, smart batching and the right mix of DTF, screen printing and embroidery, even a small outfit can look consistent, stay safe and keep spend under control, while supporting local manufacturing and reducing unnecessary waste.
Get Started With Your Project Today
Bring your safety gear to life with sharp, durable branding through our custom hi-vis printing on quality work hoodies. At Thread Traders, we help you kit out your team with hi-vis that looks professional and stands up to tough conditions. Share your logo, colours and quantities and we will recommend the best options for your crew. If you are ready to move ahead or have questions about sizing or artwork, simply contact us and we will walk you through the next steps.
Blog Posts
- Planning Custom Workwear for Seasonal Trades in Melbourne
- Hi-Vis for Small Crews: Repeatable Reorders (SKUs, Sizing, Turnover)
- Visual SOP for Ordering Custom Branded Workwear Online
- Visual Uniform Mockups That Save You From Costly Reprints
- Planning Branded Merchandise for Melbourne School Events
- Hi-Vis Print Placement & Compliance: Logo Size, Tape Rules, Visibility Zones
- Planning Branded Workwear for Small Melbourne Teams
- What Makes a Reliable Company Swag Supplier in Australia
- Planning Bulk Custom Merchandise Orders Without the Stress
- Ordering Custom Polo Shirts with Logos for Aussie Teams
- Checklist for Event Merchandise Printing That Actually Sells
- Workshop Guide to Branded Uniforms for Melbourne Trades
- Visual Checklist for Custom Branded Caps and Hats
- DTF Printing Australia: a Simple Visual Guide for First-Time Orders
- What to Expect From Custom Embroidery in Melbourne
- Designing Branded Tote Bags Australia Clubs Actually Use
- Ordering No-Minimum Custom Printing for Last-Minute Events
- How to Write a Print-Ready Custom T-Shirt Order: Sizes, Specs, Timelines
- Decoding Custom Hoodie Printing for Melbourne Teams
- Visual Brand Guide for Custom T‑shirt Printing in Melbourne
- Custom Promotional Products Melbourne Businesses Actually Use
- Planning Branded Hi-Vis Workwear for Trades Without the Hassle
- Signs Your Branded Uniforms Are Letting Your Team Down
- Choosing Between Screen Printing and DTF for Custom Tees
- Is Eco-Friendly T-Shirt Printing Right for Your Brand
- Love the Planet, Love Your Clothes: The Rise of Eco-Conscious Embroidery in Fashion
- Why Business Owners Love DTF Printing: Sustainable Solutions for Custom Apparel
- Garment Embroidery Services in Melbourne
- Hi-Vis Printing for Small Crews: Budget & MOQ Playbook for Small Runs
